Introduction to Designing Your Own Jewelry
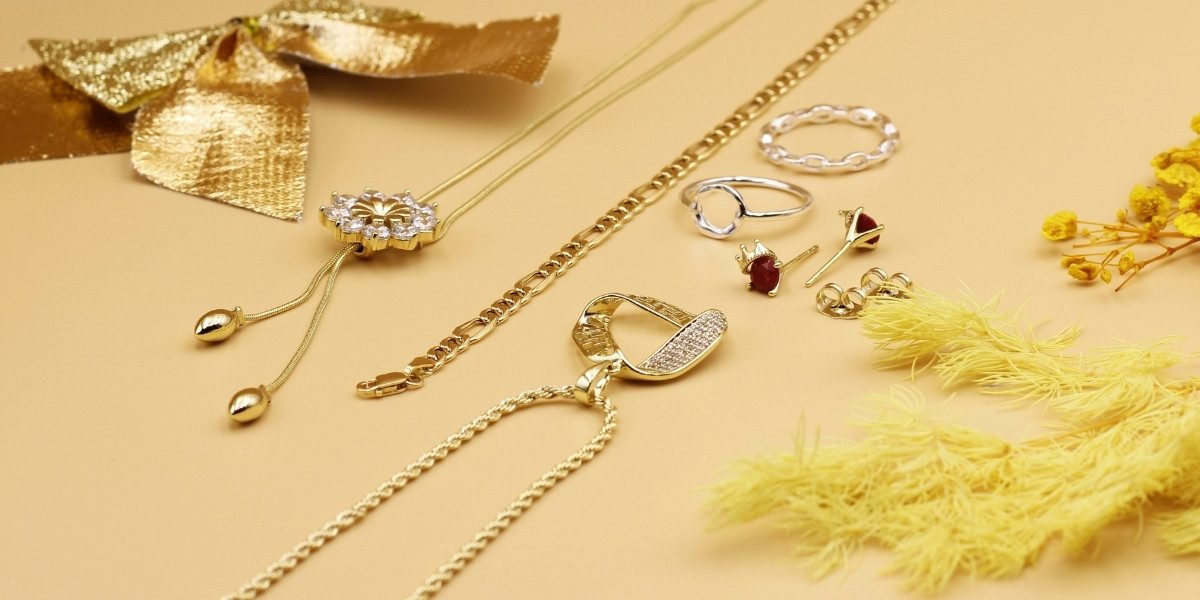
Designing your own jewelry is an exciting and creative process that allows you to express your personal style and create unique pieces that have deep meaning. Whether you’re designing a simple necklace, an intricate bracelet, or an elegant pair of earrings, the process of bringing your vision to life can be both rewarding and empowering.
In this step-by-step guide, we’ll walk you through the essential steps involved in designing your own jewelry, from initial concept to the final product. With the right tools, materials, and techniques, you can create pieces that reflect your personality and taste, making them special gifts for loved ones or treasures for yourself.
Read Also: Unveiling the Mysteries of Earth’s Unexplored Waters
Step 1: Get Inspired
Before you begin the actual design process, take some time to gather inspiration. Jewelry design is deeply personal, so it’s important to think about what you love. You may find inspiration in nature, architecture, fashion, or even your own personal experiences.
Browse through magazines, visit jewelry stores, or search online for designs that resonate with you. You can also create a mood board or Pinterest board to organize your thoughts and ideas visually. Think about shapes, colors, textures, and themes that appeal to you. It’s all about finding elements that speak to your personal style and vision.
Step 2: Choose Your Materials
Once you have a general idea of what you want to design, the next step is choosing your materials. Jewelry can be made from a variety of materials, including metals, gemstones, beads, and even leather or fabric. The material you choose will greatly influence the overall look and feel of your piece, so it’s important to consider both aesthetics and functionality.
-
Metals: Choose from silver, gold, platinum, or copper for a traditional look. You can also experiment with more affordable metals like brass or stainless steel.
-
Gemstones: Incorporating gemstones adds color, texture, and sparkle to your designs. Consider birthstones, diamonds, or even semi-precious stones like amethyst, turquoise, or opal.
-
Beads and Wire: For a more casual and trendy design, beads and wire can be used to create bracelets, necklaces, and earrings. You can use glass, wood, or crystal beads, depending on your style.
-
Leather and Fabric: These materials are perfect for creating bohemian-style jewelry or more relaxed, casual pieces.
Step 3: Sketch Your Design
Now that you have an idea of the materials you want to work with, it’s time to sketch your design. Drawing your design helps bring your ideas to life and gives you a tangible visual to work from. Start with simple sketches, focusing on the overall shape and structure of your jewelry. Don’t worry about getting the details perfect just yet. You can refine your drawing as you go.
You can sketch your design by hand, or use design software like Adobe Illustrator or jewelry-specific software if you prefer a digital approach. When sketching, think about the following:
-
Proportions: How large or small will each element be? Make sure the design is balanced.
-
Details: Consider adding details like textures, engravings, or the arrangement of gemstones.
-
Size: Think about how the design will fit on the body. For example, a pendant should be the right size to hang comfortably around the neck.
Step 4: Make a Prototype or Use Jewelry-Making Tools
With your design in hand, it’s time to start crafting your piece. If you’re just starting out, you may want to begin with a simple prototype or test piece. Use inexpensive materials or scrap metal to create a basic version of your design and get a feel for how the final product will look and feel. This step allows you to experiment with different shapes, sizes, and techniques before committing to your final piece.
For those ready to jump into actual jewelry making, gather the necessary tools:
-
Pliers and Cutters: Used for bending and cutting wire.
-
Beading Needles: Ideal for threading beads and working with small materials.
-
Jewelry Saw: For cutting through metals and other solid materials.
-
Files and Sandpaper: These tools are used for smoothing out rough edges and creating texture.
-
Soldering Iron: Essential for joining metal components together.
If you’re making a necklace or bracelet with beads or wire, you can start stringing your beads or attach charms using jump rings or clasps. For metalwork, the process will involve cutting, shaping, and possibly soldering your components together.
Step 5: Finalize the Design and Add Finishing Touches
Once your prototype is complete, take time to evaluate your piece. Does it reflect your original vision? Make any necessary adjustments to the design, and refine the details. At this point, it’s time to add finishing touches that will make your jewelry truly unique:
-
Polishing: Give your piece a beautiful shine with polishing cloths or a jewelry tumbler.
-
Stone Setting: If your design includes gemstones, setting them securely in place is an important step. Make sure they are safely placed in prongs or bezels.
-
Texturing: Consider adding textures to your metal components for a more personalized touch. This can be done using hammers, files, or specific jewelry tools designed for texturing surfaces.
Step 6: Assemble Your Jewelry
Now that you’ve completed the final details, it’s time to put your jewelry together. This step involves connecting all the components, whether that’s adding clasps to a necklace, attaching earring hooks, or combining the links in a bracelet. Ensure everything is securely attached, and double-check that your piece is functional and wearable.
For metal jewelry, ensure that all connections are properly soldered, filed, and polished. For beadwork, make sure the string or wire is tight and that beads are secured in place. If your design includes any movable parts (like pendants or charms), ensure they move smoothly without being too loose or tight.
Read Also: Creating a Fashion Legacy: The Balance of Talent and Skill
Step 7: Enjoy Your Creation!
Congratulations! You’ve successfully designed and created your own piece of jewelry. Whether it’s a gift for someone special or a treat for yourself, the satisfaction of wearing something you’ve crafted with your own hands is truly rewarding. You can also experiment with different materials, styles, and techniques as you continue to develop your jewelry-making skills.
Jewelry making is a journey of creativity and learning. Each piece you create adds to your experience and knowledge. Over time, you can refine your designs and push the boundaries of your creativity.


